How To Add a Favicon to Your Experience Pages
A favicon is a small, iconic image that is most often found in the address bar of a website.
![]()
This guide shows how to add a favicon to your Experience Pages.
Prerequisites
Before you begin, you need:
- An Experience Page
- Familiarity with HTML
Upload a favicon.ico to Files
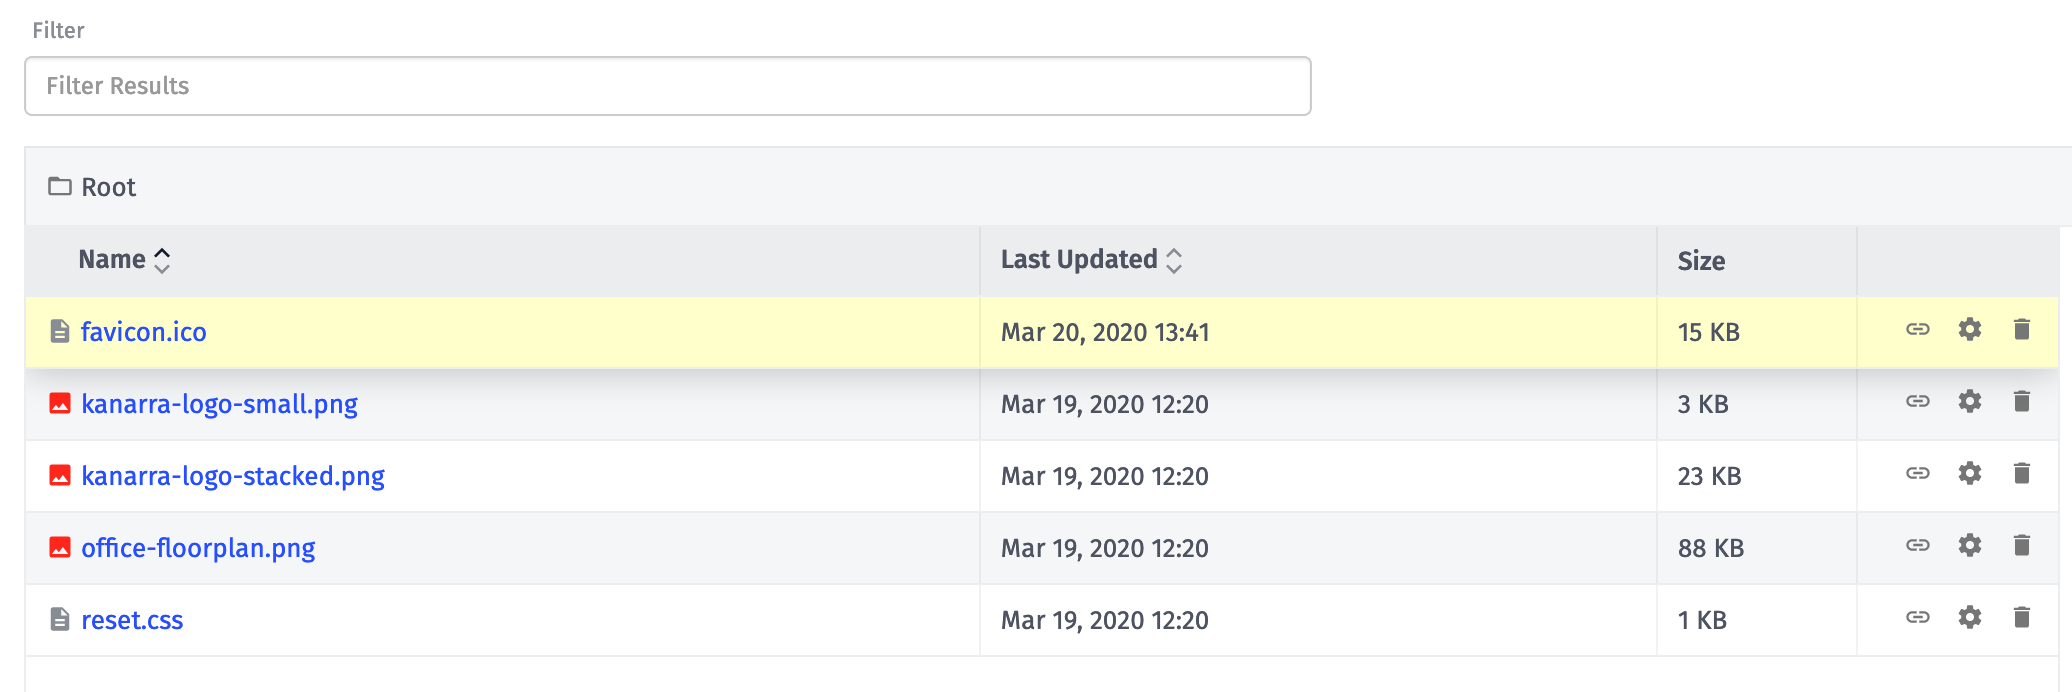
Images that are needed within an Experience are typically stored in Application Files.
To begin, upload the image that represents your favicon into Application Files. You can name the file whatever you want, but the standard practice is to use favicon.ico.

Set favicon in your page's HTML header
In the HEAD section in your page (or layout), add the following snippet:
<link rel="icon" type="image/x-icon" href="{{file '/favicon.ico'}}">
Here's a longer example that shows where exactly the above snippet should be placed:
<!doctype html>
<html>
  <head>
    <title>Login | Kanarra</title>

    <link rel="icon" type="image/x-icon" href="{{file '/favicon.ico'}}">

    <link rel="stylesheet" type="text/css" href="{{file '/reset.css'}}">

  </head>
  <body>
   <!-- Bunch of HTML -->
  </body>
</html>
Once you save your Experience Page and navigate to it within your browser, your favicon will appear:
![]()
Was this page helpful?
Still looking for help? You can also search the WEGnology Forums or submit your question there.