Allow Users To Sign Up for an Account With Your Application
In this step, you'll add the ability for non-registered users to sign up for an account within your application experience.
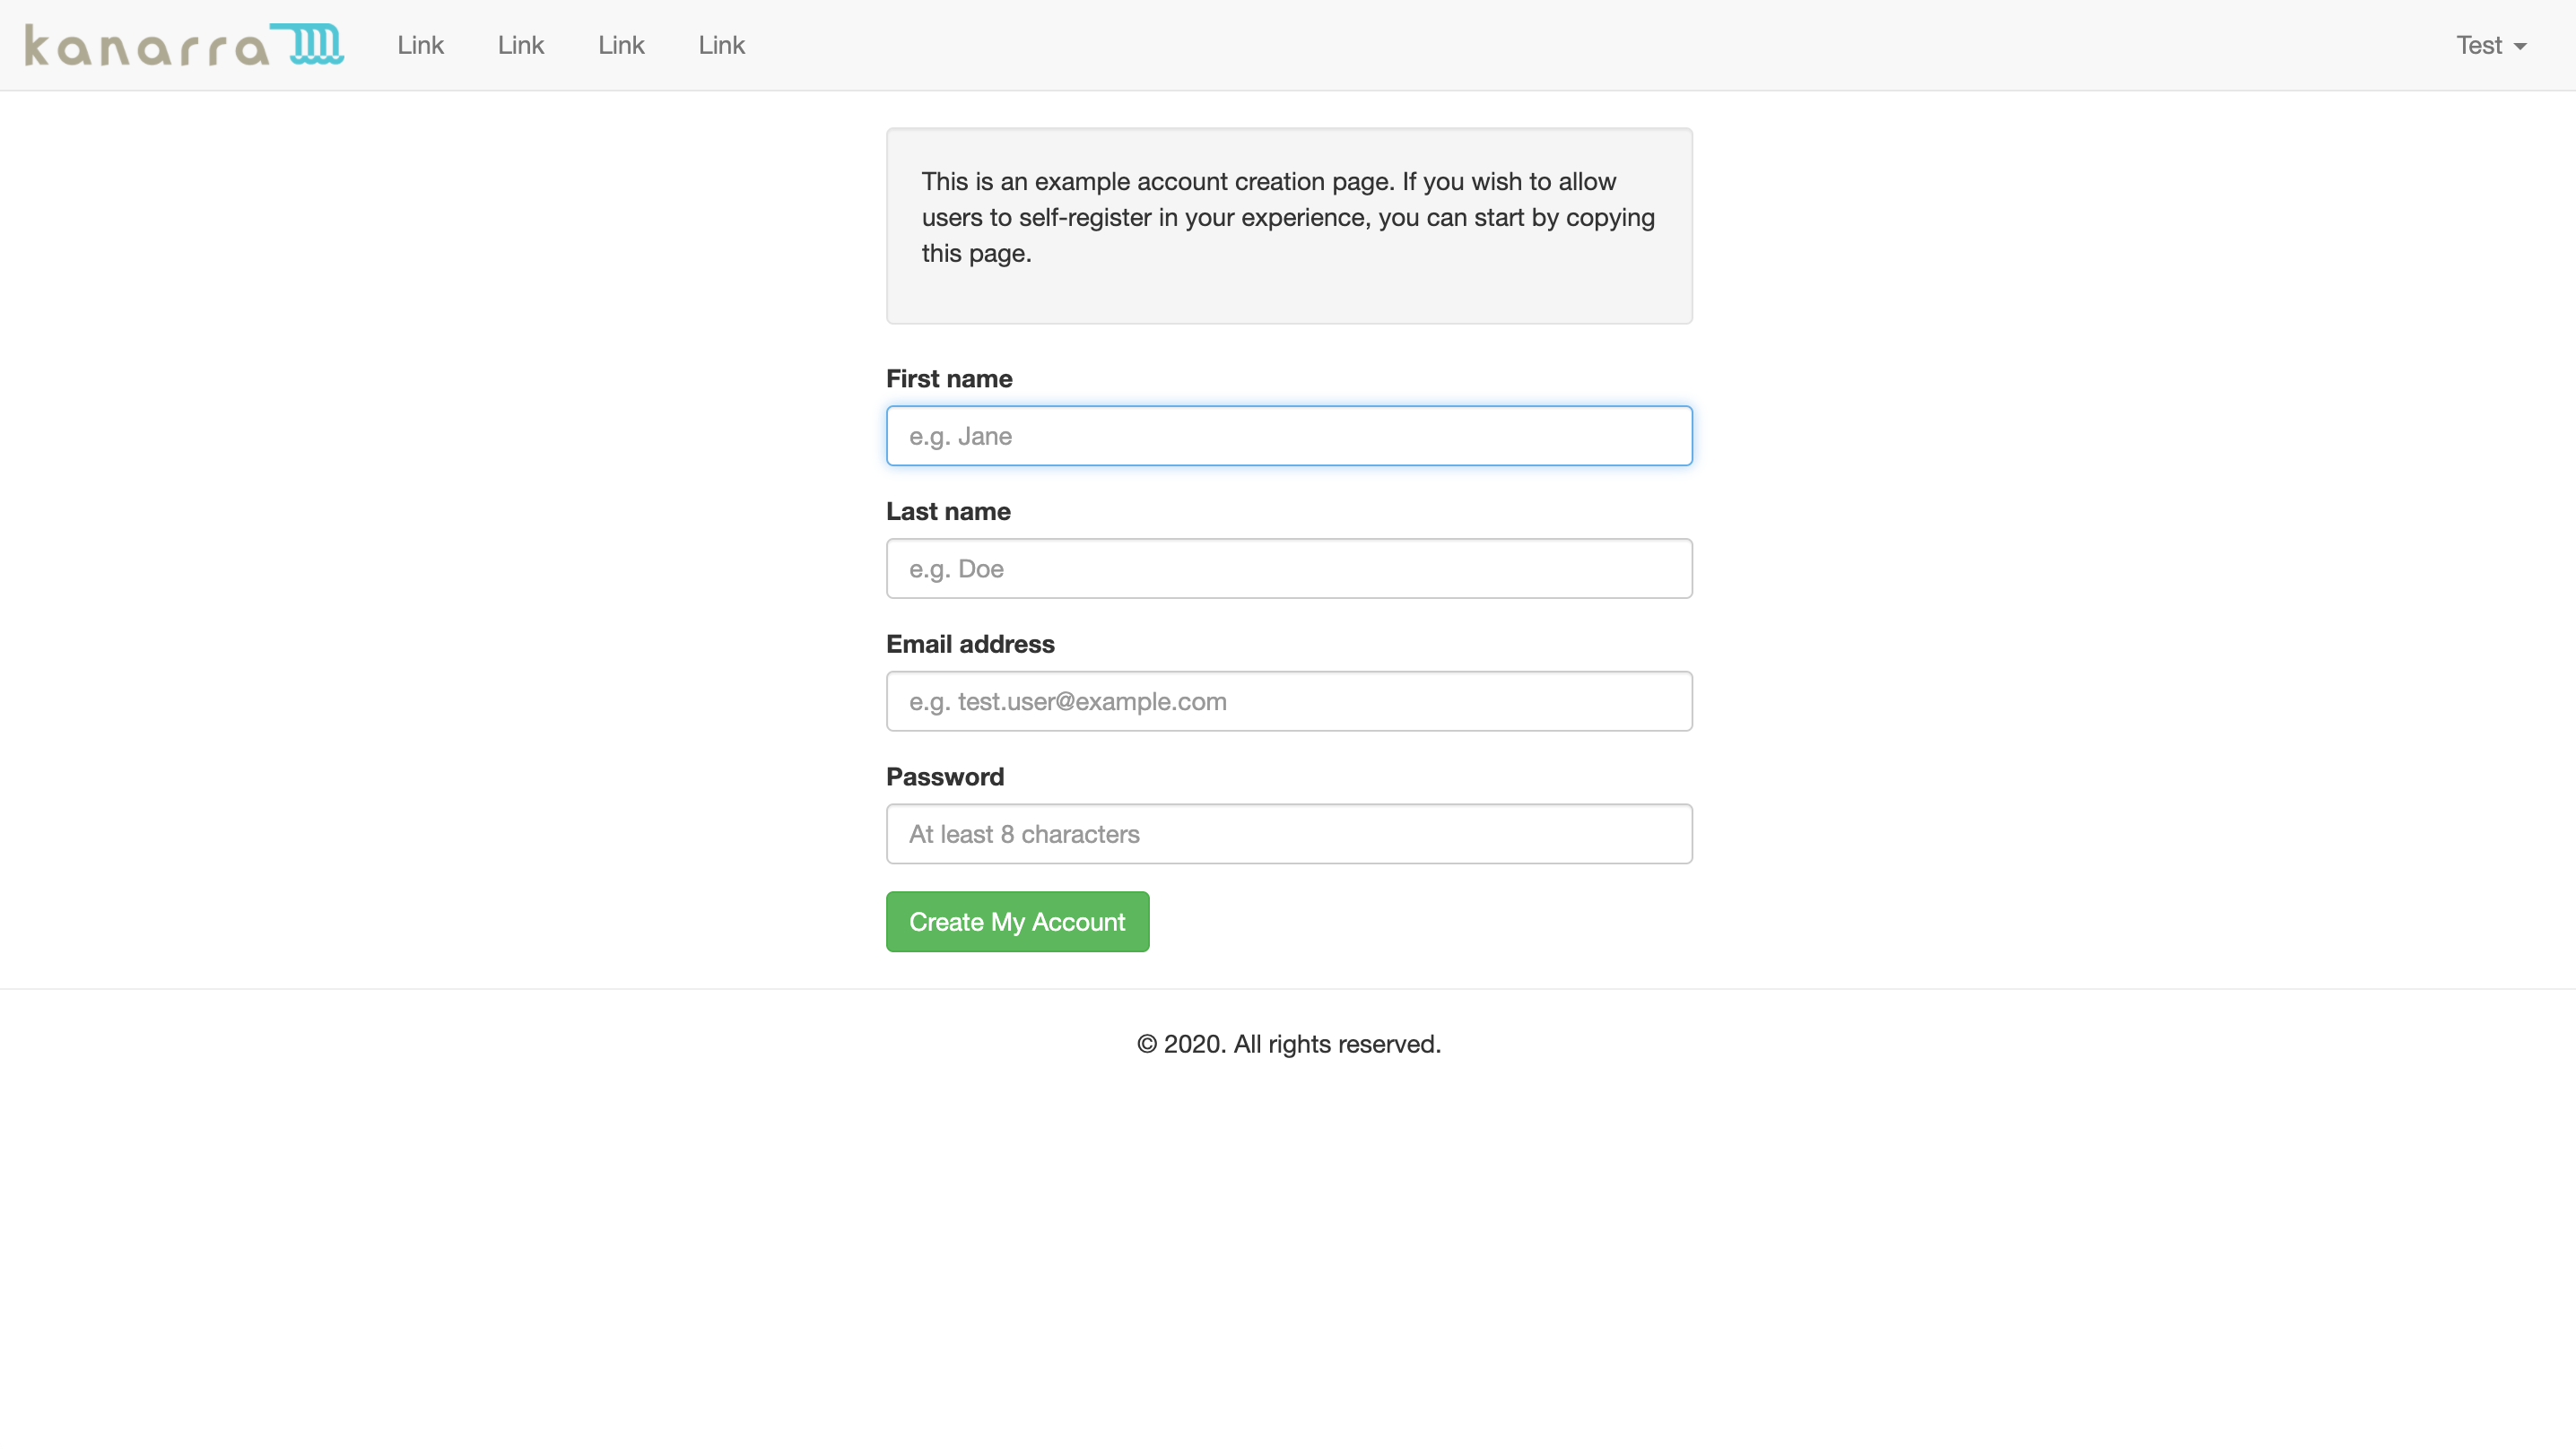
Step One: Create the Endpoints
First, you'll need two new endpoints to respond to your "Create Account" page requests:
- Navigate to the "Edit" page.
- Click the "+" button at the top right of the list.
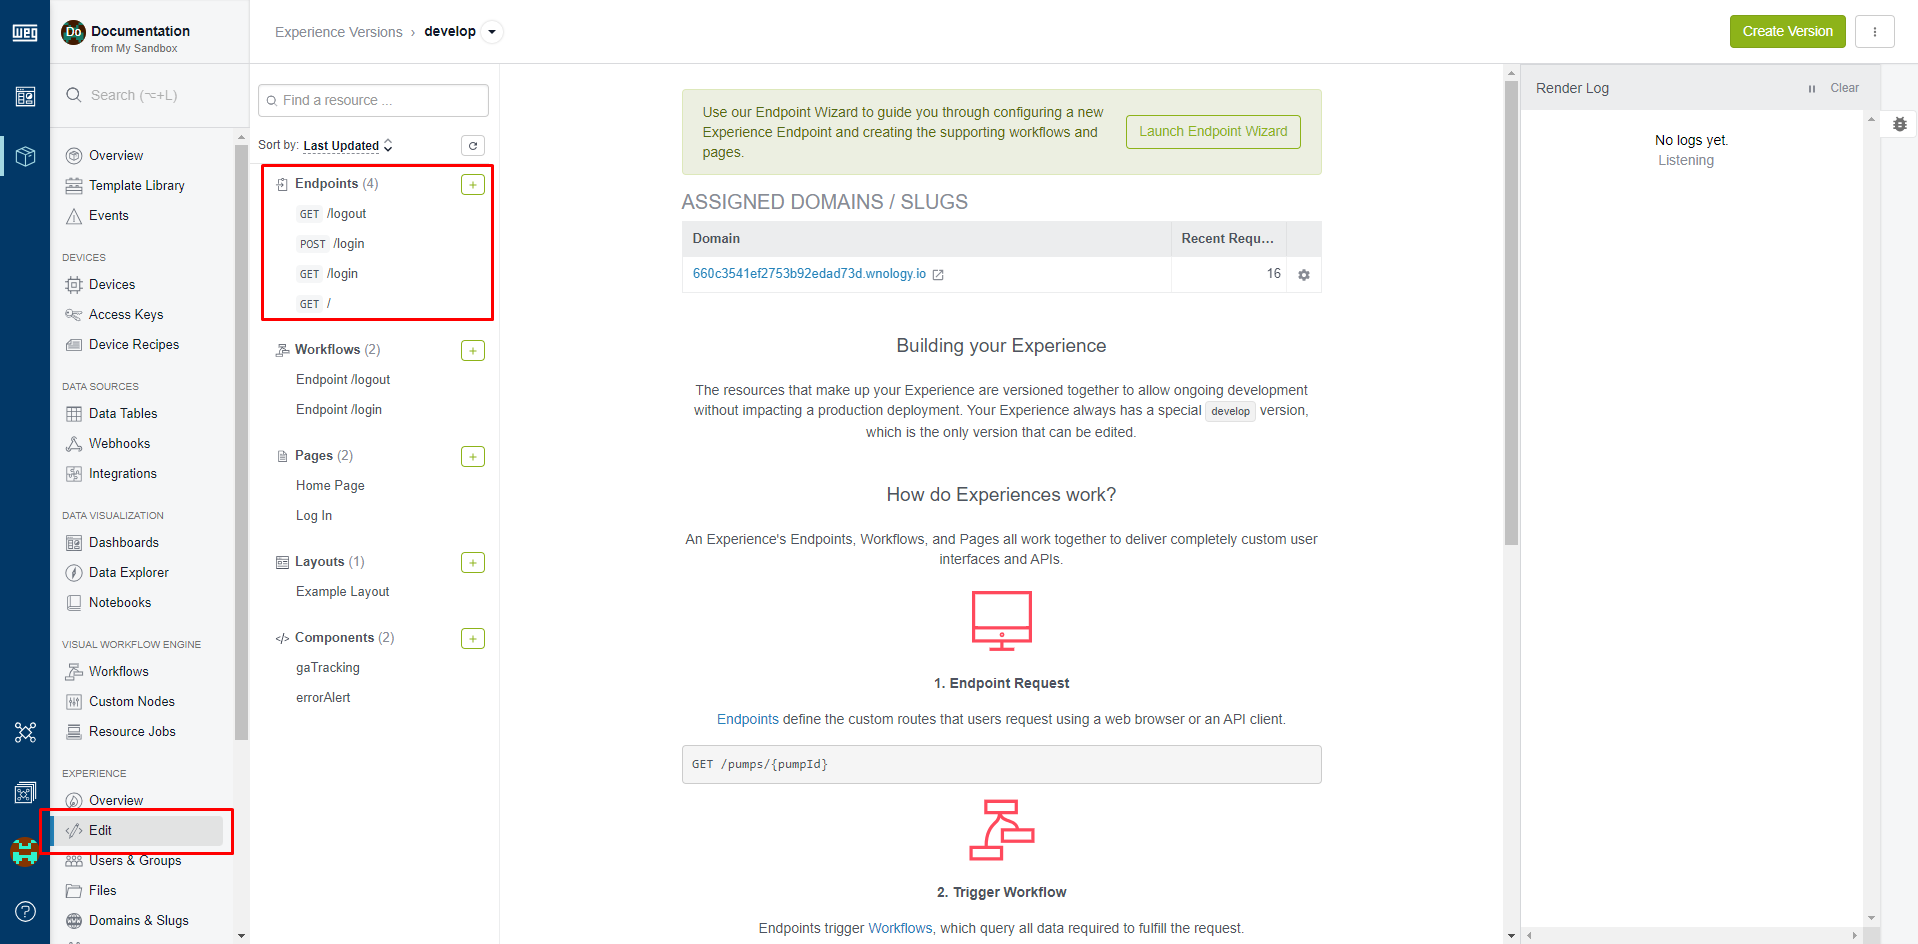
GET /create-account
This endpoint is responsible for handling requests to view the "Create Account" page. From the "New Endpoint" page:
- Leave the
Methodset asGET. - Set the
Routeto/create-account. - Change the
Access ControltoAll public users. - Save the route.
- Return to the Endpoints List page.
- Click "Add" to add the other route.
POST /create-account
This endpoint is responsible for handling form submissions from the "Create Account" page.
- Set the
MethodtoPOST. - Set the
Routeto/create-account. - Change the
Access ControltoAll public users. - Save the route.
Step Two: Create the Views
Now that the routes are configured, it's time to create the views that power this new functionality:
- Click the "Views" tab.
- Click the "+" button at the top right of the "Pages" list.
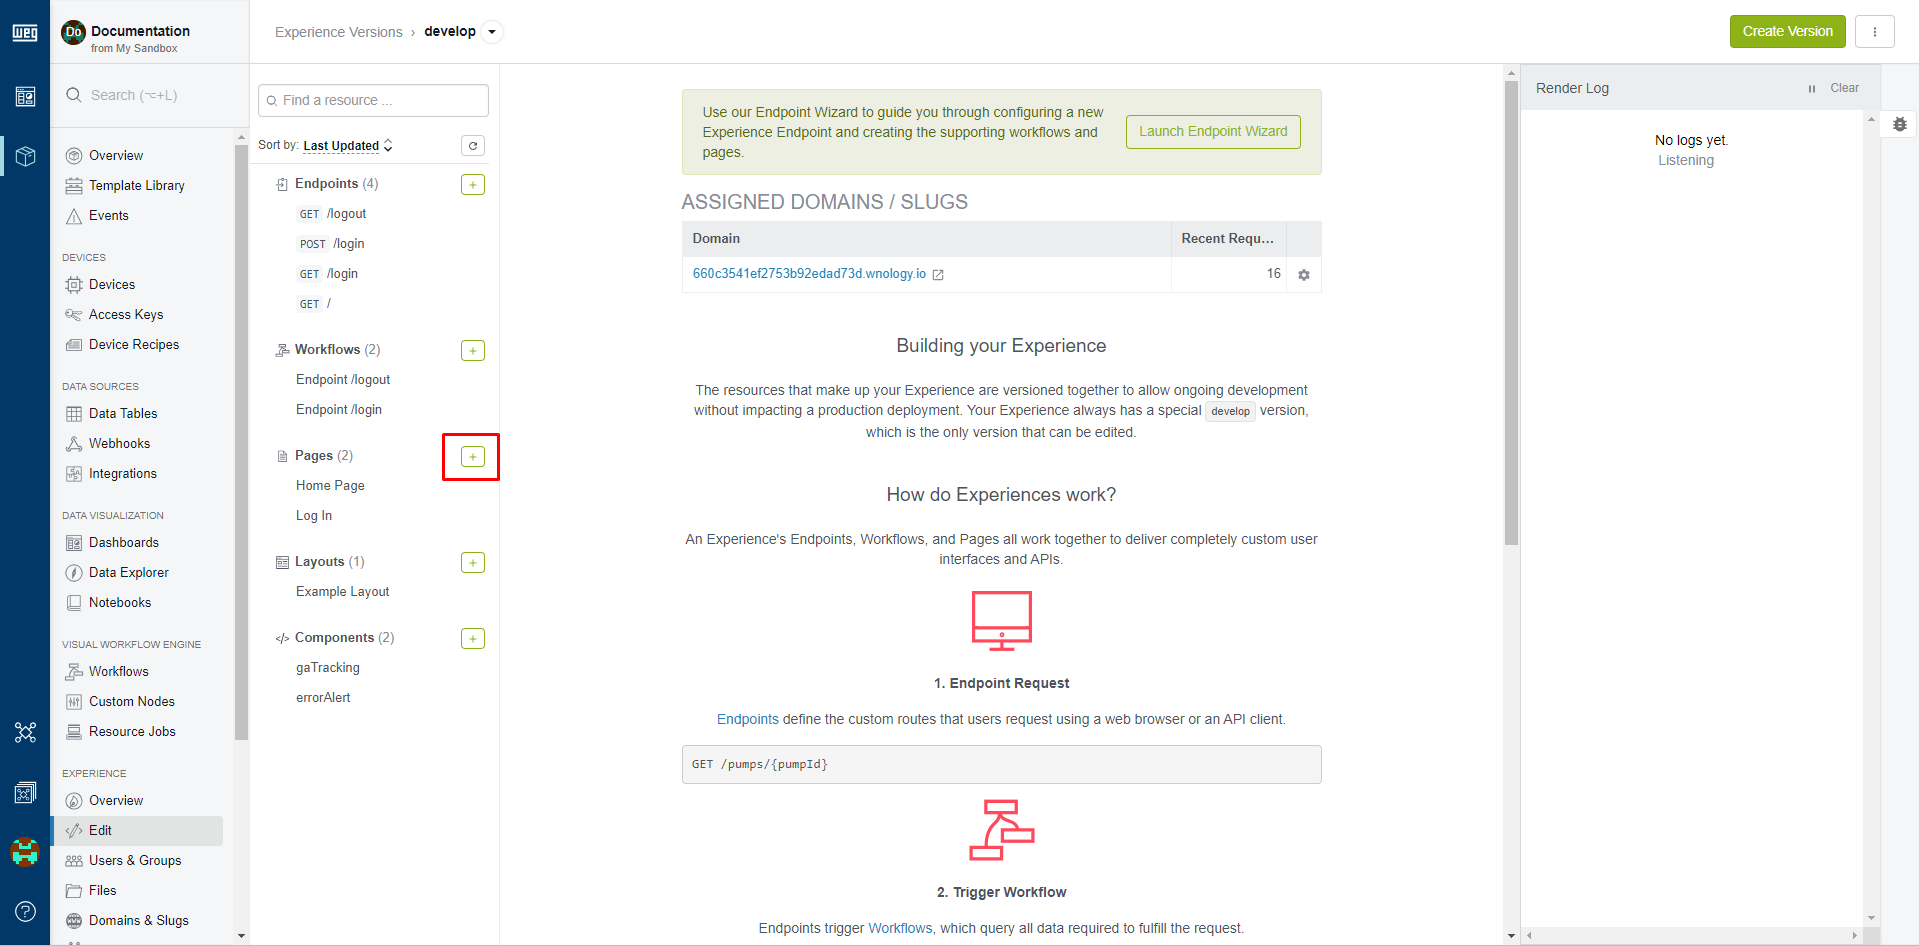
Page: Create Account
First, create a new page to render when this endpoint is requested:
- Click the "Add" button in the "Pages" list.
Namethe pageCreate Account.- Add an optional description.
- Select your previously created layout for the page's
Layout. - Click "Create Page". This will redirect you to a screen where you can edit the new page's content.
- Copy this snippet and paste it in for the page's
Content. - Click "Create Page" to save your work.
Component: profileForm
There's a component in your Create Account page that serves as the form for collecting new user data. To create the component:
- From the Experience Views list, click the "Add" button in the "Components" list.
Namethe componentprofileForm.- Copy this snippet and paste it for the component's
Content.
There are a few things to note about your new component:
- You're setting a number of HTML5 form validation attributes on your inputs, including marking all fields as required and setting minimum and maximum lengths. This blocks malformed account creation requests before the form ever submits. Not all browsers support this functionality, so you must also check these values within our workflow.
- There is an instance of your "errorAlert" component at the top of this component, which you will use to render an error should account creation fail.
- In the event that account creation does fail, the component will repopulate as many fields as it has data for, except the user's new password.
Step Three: Create the Workflow
Now, similar to your login page, create a single workflow for handling both GET and POST requests to your /create-account route.
- Download the workflow template, then import the file
endpoint-create-account.flowas a new experience workflow. - Update each of the endpoint triggers to point to the
POST /create-accountandGET /create-accountendpoints you created above. - Update the endpoint reply nodes to point to your
Create Accountpage. - Enable the workflow (since imported workflows are by default disabled).
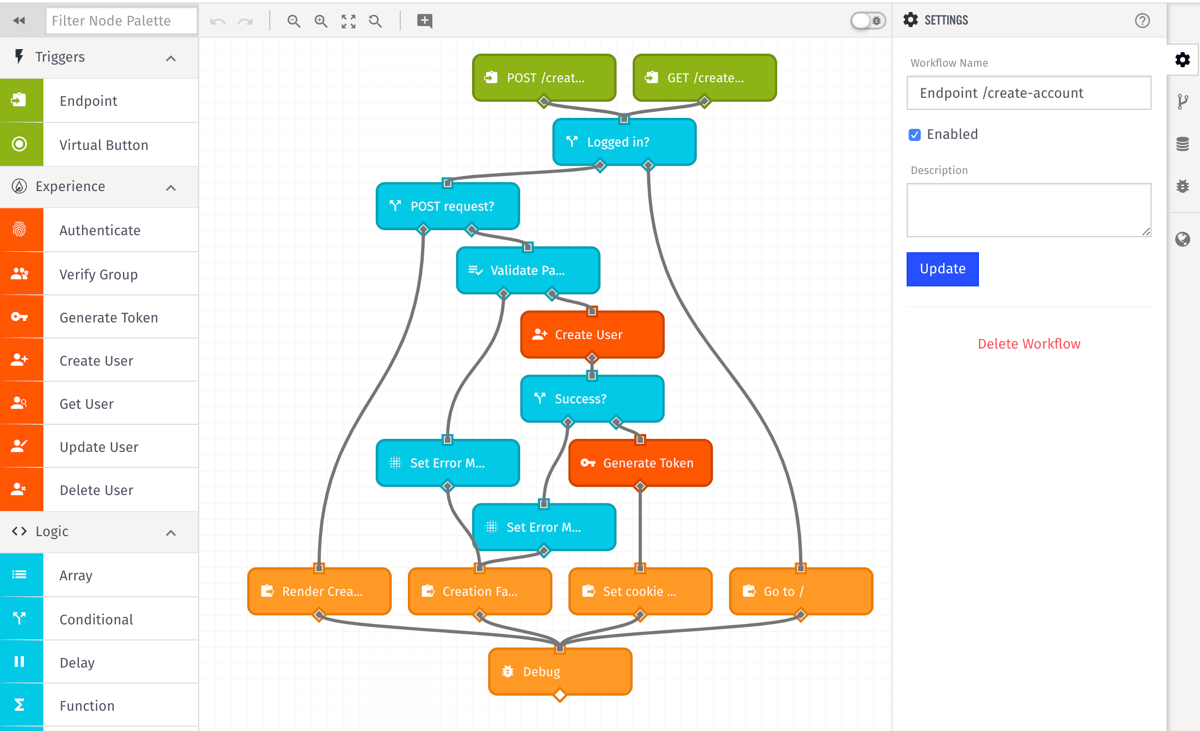
As a general overview, this workflow handles the following:
- If a user visits
/create-account, you respond to the request with our newCreate Accountpage, unless the user is already logged in, in which case they are redirected to our experience Home page. - When that user submits the
Create Accountform, you validate that they have submitted all fields correctly. Then, you check to make sure you do not already have an experience user with the same email address already tied to the application. If either of these checks fail, the re-render theCreate Accountpage with an error message. - If account creation is successful, you generate an auth token, set it as a cookie and redirect the user to our experience home page.
There is a comment on each workflow node describing its function in more detail.
Step Four: Link to the Feature
Finally, give your experience visitors a way to reach your new "Create Account" page by updating our navigation.
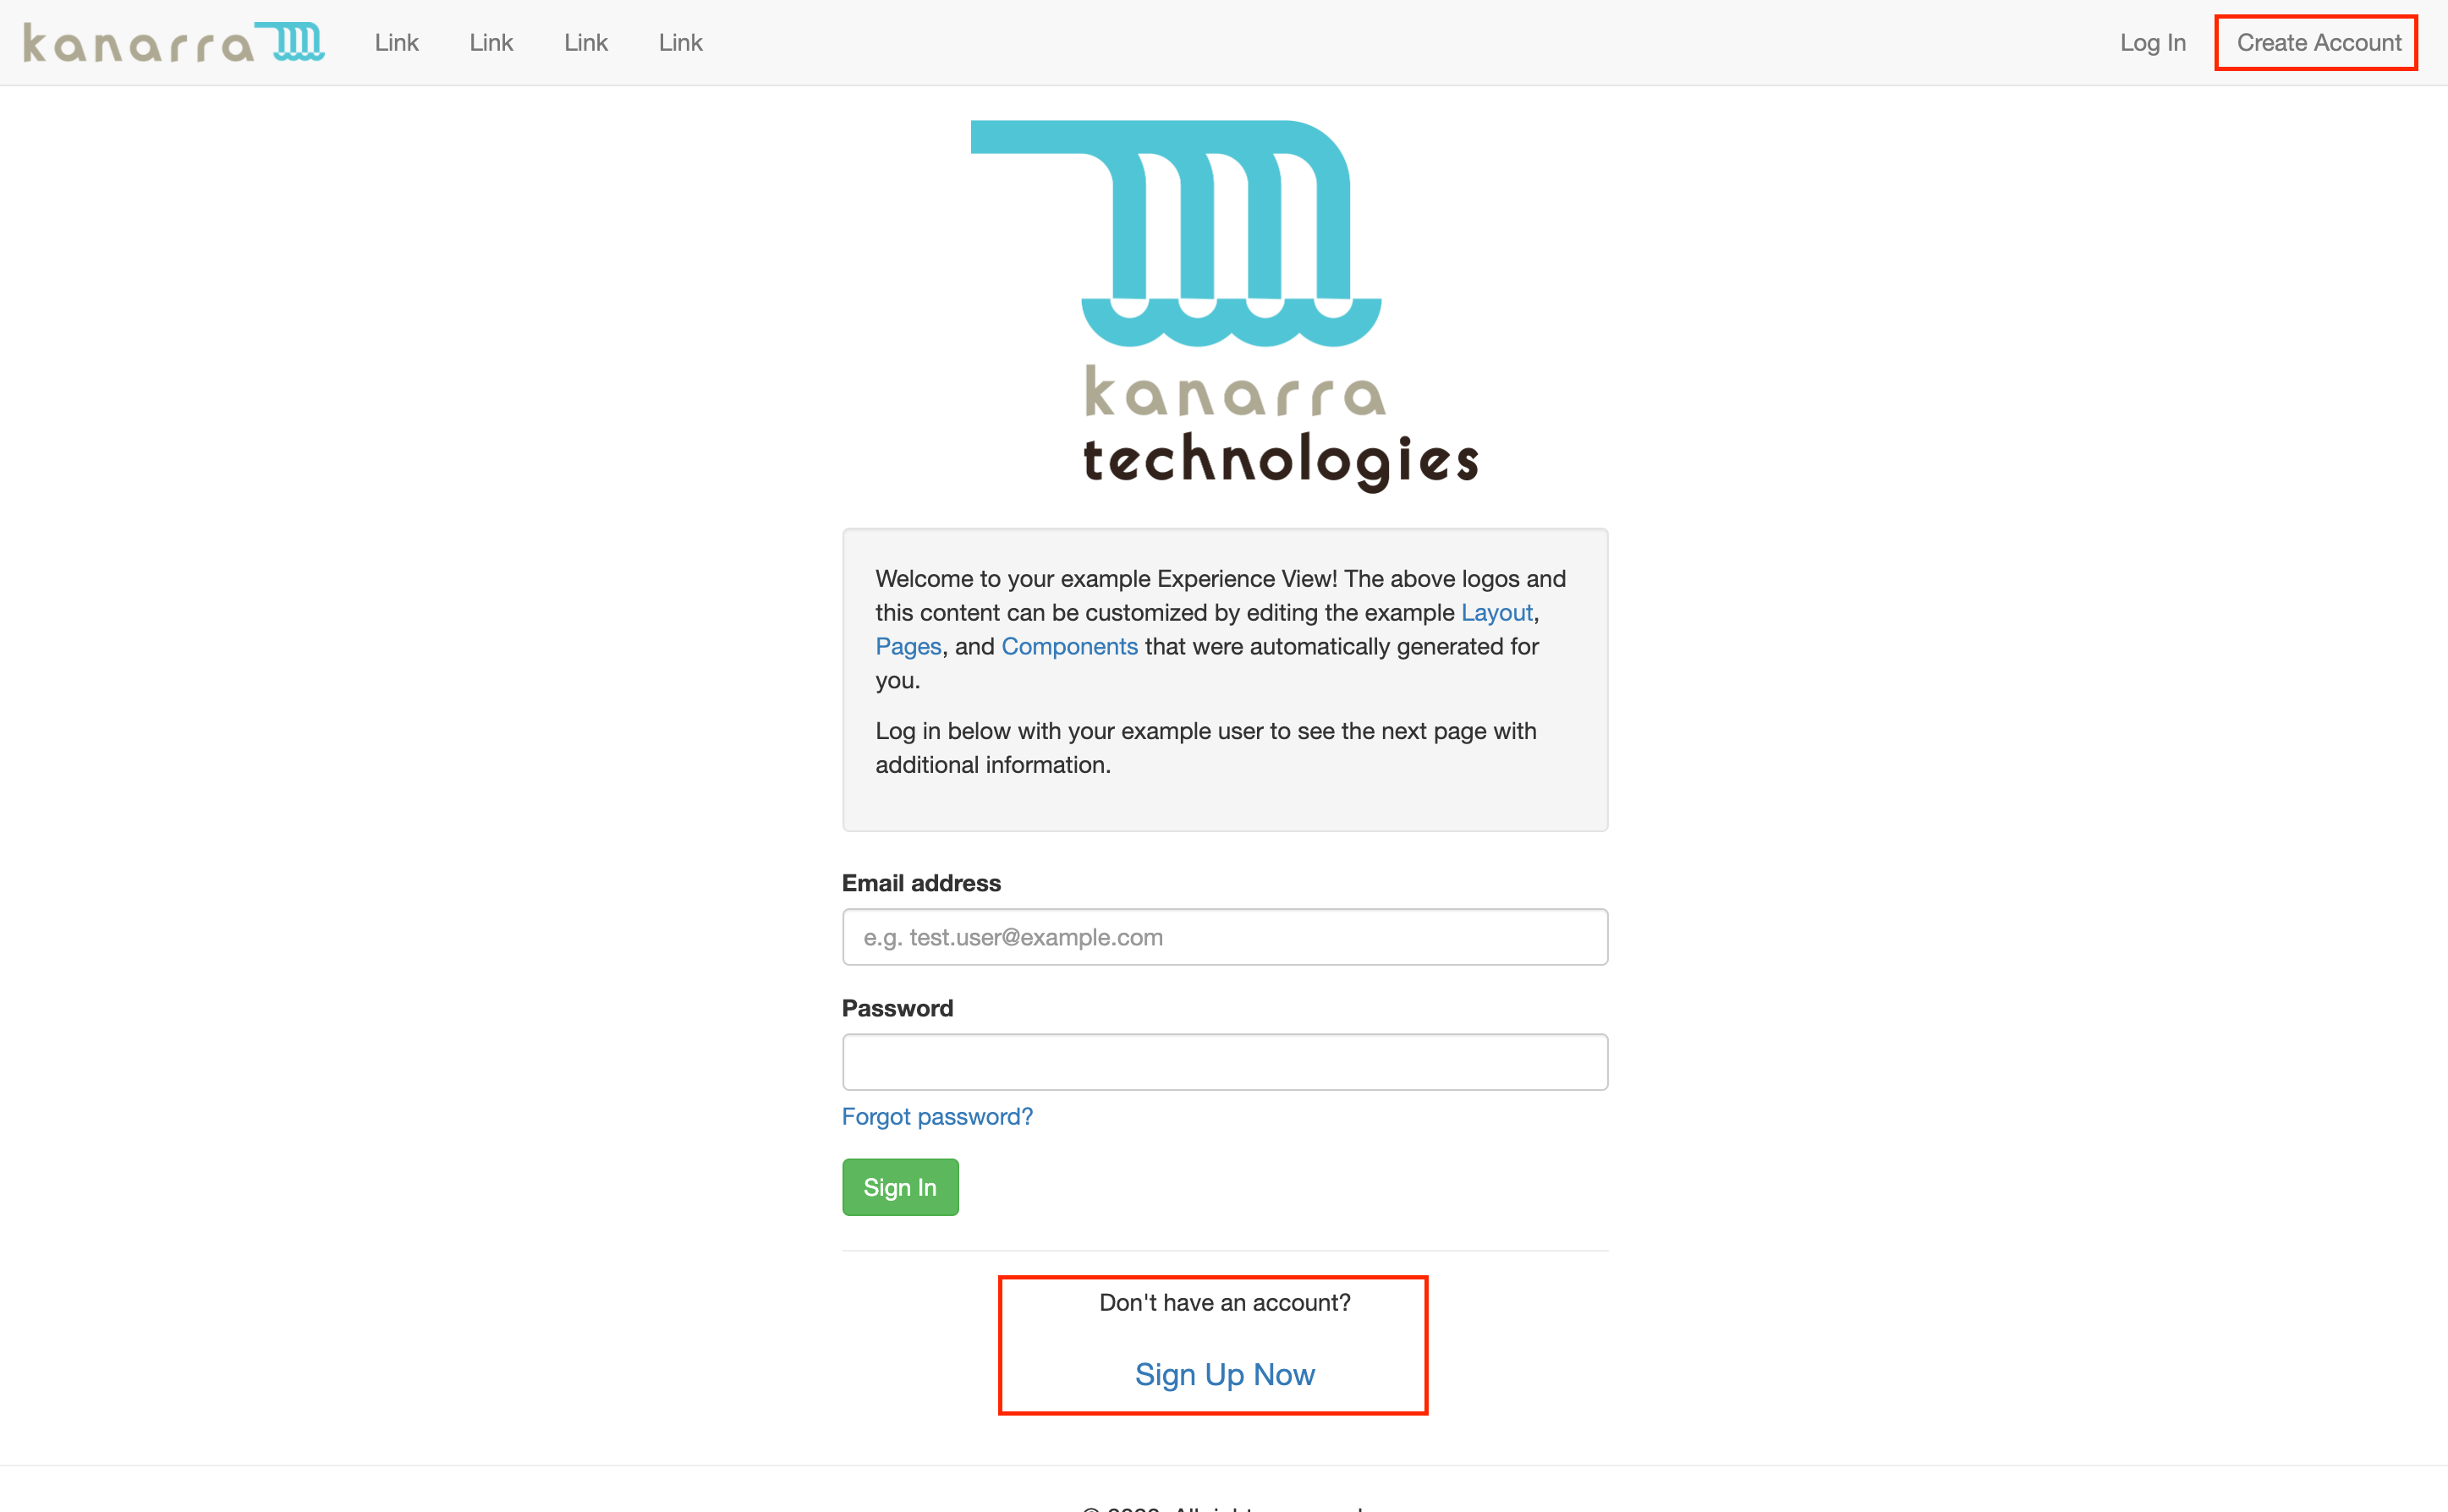
Page Edits: Log In
First, edit your "Log In" page to add a section that will serve as a lead-in to account creation. Copy the following and use it to overwrite our current "Log In" page content:
You've added these few lines just above the closing </form> tag. This renders the call to action below your submit button.
Component Edits: userIndicator
Also update our site navigation to include a link to the account creation page, but only when the user is not signed in. To do that, add a line to your "userIndicator" component. Add the following line immediately after our "Log In" link:
Alternatively, you can copy the full component and paste it as the new content of userIndicator.
Review
This concludes this tutorial, in which you've added the ability for experience visitors to register for an account and start accessing parts of the experience that were previously open only to logged-in visitors. Next, you'll build on top of what you've done here to allow users to edit their profiles.
Was this page helpful?
Still looking for help? You can also search the WEGnology Forums or submit your question there.