Experiences
Building a product on top of WEGnology would normally involve writing an API service, implementing user authentication, building and serving a front-end interface, and hosting all of the above somewhere – which is a lot of work! Experiences bring all of this functionality directly inside your WEGnology application.

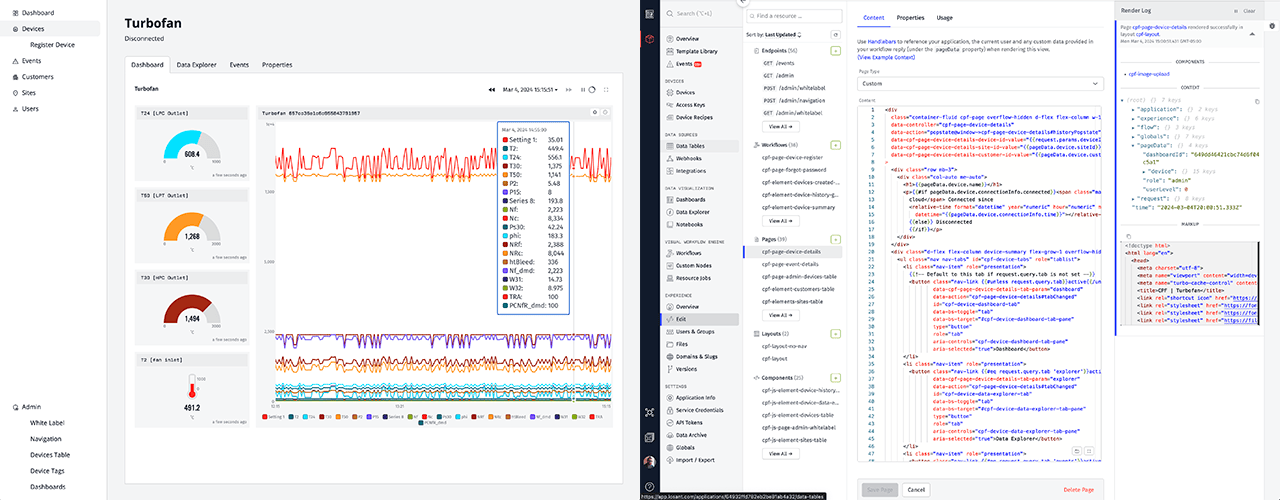
Experiences are a means by which you can build a fully functional web interface, allowing users to interact with your connected Devices. Set a subdomain at which your Experience Views can live; return user-specific Dashboards with content that is specifically relevant to them; configure Endpoints to respond to requests using the power of WEGnology's Workflow Engine; register Experience Users against your application; or build a full multi-tenant application by assigning your users to Experience Groups.
How Experiences Work
An Experience's Endpoints, Workflows, and Pages all work together to deliver completely custom user interfaces and APIs.
1. Endpoint Request
Endpoints define the custom routes that users request using a web browser or an API client.
GET /pumps/{pumpId} HTTP/1.1
2. Trigger Workflow
Endpoints trigger Experience Workflows, which query all data from your devices or data sources required to fulfil the request.
{
  "pump": { ... },
  "location": "39.108, -84.50",
  "rpm": 1100
}
3. Render Page
Workflows can return raw data or pass it to an Experience Page to be rendered as HTML, or a Dashboard Page to render a WEGnology Dashboard.
<p>
  Name:
  {{pageData.pump.name}}
</p>
<p>
  GPS:
  {{pageData.location}}
</p>
Getting Started
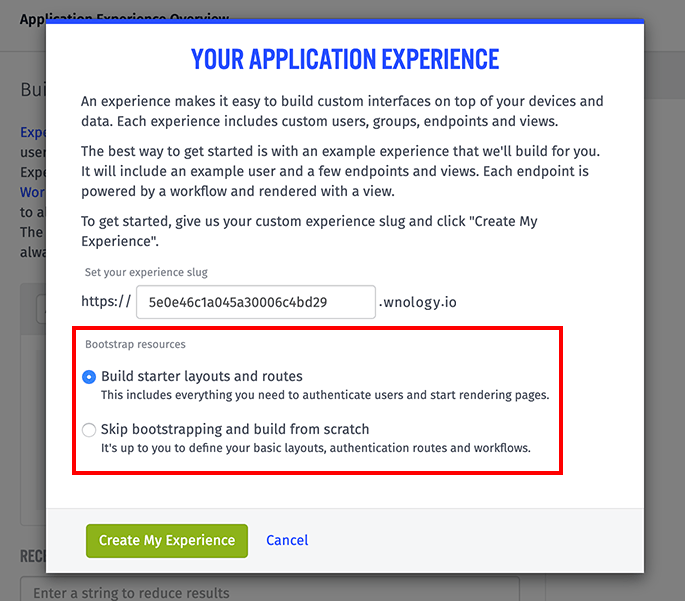
The first time you click any of the links in your application navigation's "Experience" subsection, you will be prompted to bootstrap your experience from the WEGnology Connected Product Foundation (WCPF) template, which is the recommended starting point for any new application experience.

The CPF provides many pre-built pages that are found in nearly all IoT applications. It also incorporates many implementation best practices and a standard web architecture that provides a scalable framework in which to develop. Click "View and Import Template" to go to the Template Library and import the CPF resources into your application.

If you prefer to start from scratch, you may choose the "Continue Without Template" option, which will dismiss the modal and allow you to begin building out your end user experience.
Note: If you change your mind, at any time you may return to the Template Library and import the CPF template; however, doing so at a later date may lead to conflicts with resources you have already created. In that case, you may create a version of your current experience, clear out your "develop" version, and import the template to start from the CPF.
Finally, if you are not ready to begin working on your application experience, you may click "Come Back Later" to return to the previous page.
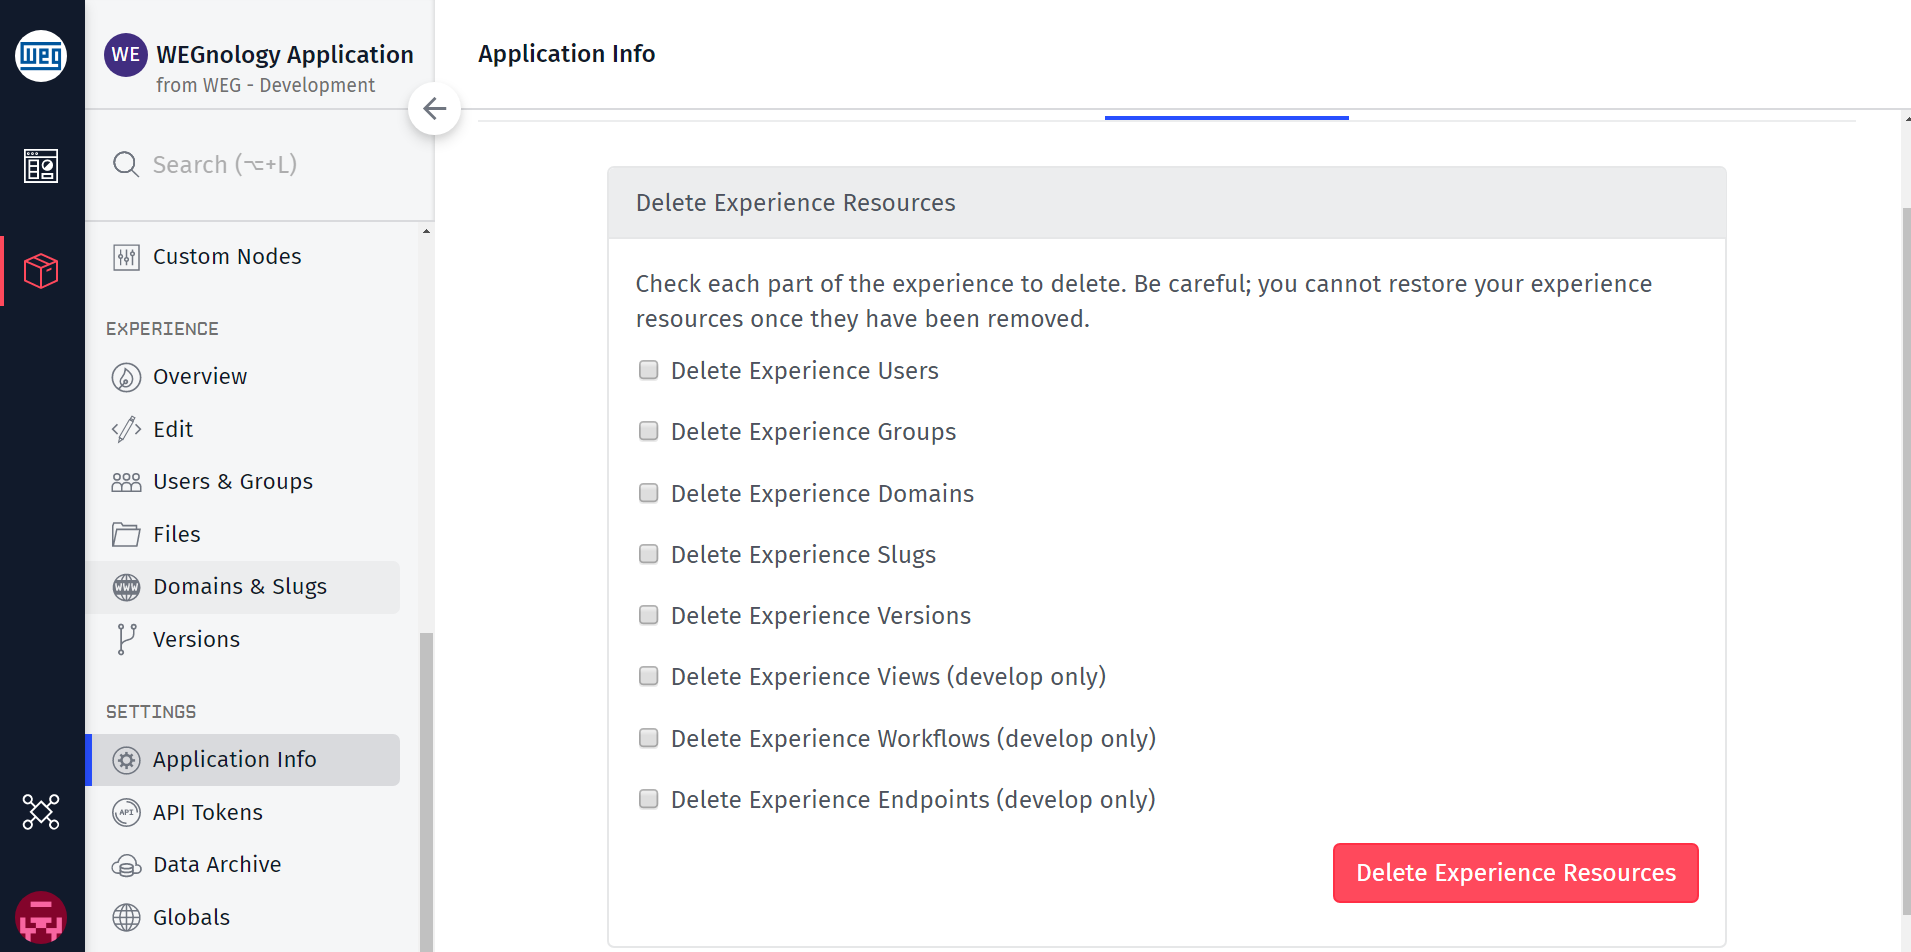
Deleting Experience Resources
If for any reason you need to delete parts or all of your Experience, you can do so under the "Settings" -> "Application Info" tab in your application's sub-navigation and then selecting "Delete Resources" in the top navigation tabs. Select all the resources you wish to delete and then submit the form.

See Also
You can dive deeper into Experiences with the following resources:
Was this page helpful?
Still looking for help? You can also search the WEGnology Forums or submit your question there.