Notebooks
A notebook is a Jupyter Notebook that uses device state data, data tables and third-party sources to generate advanced insights about your IoT solution through a variety of batch analytics methods. The notebook's code is developed outside of your application, but it is executed within the application's environment.
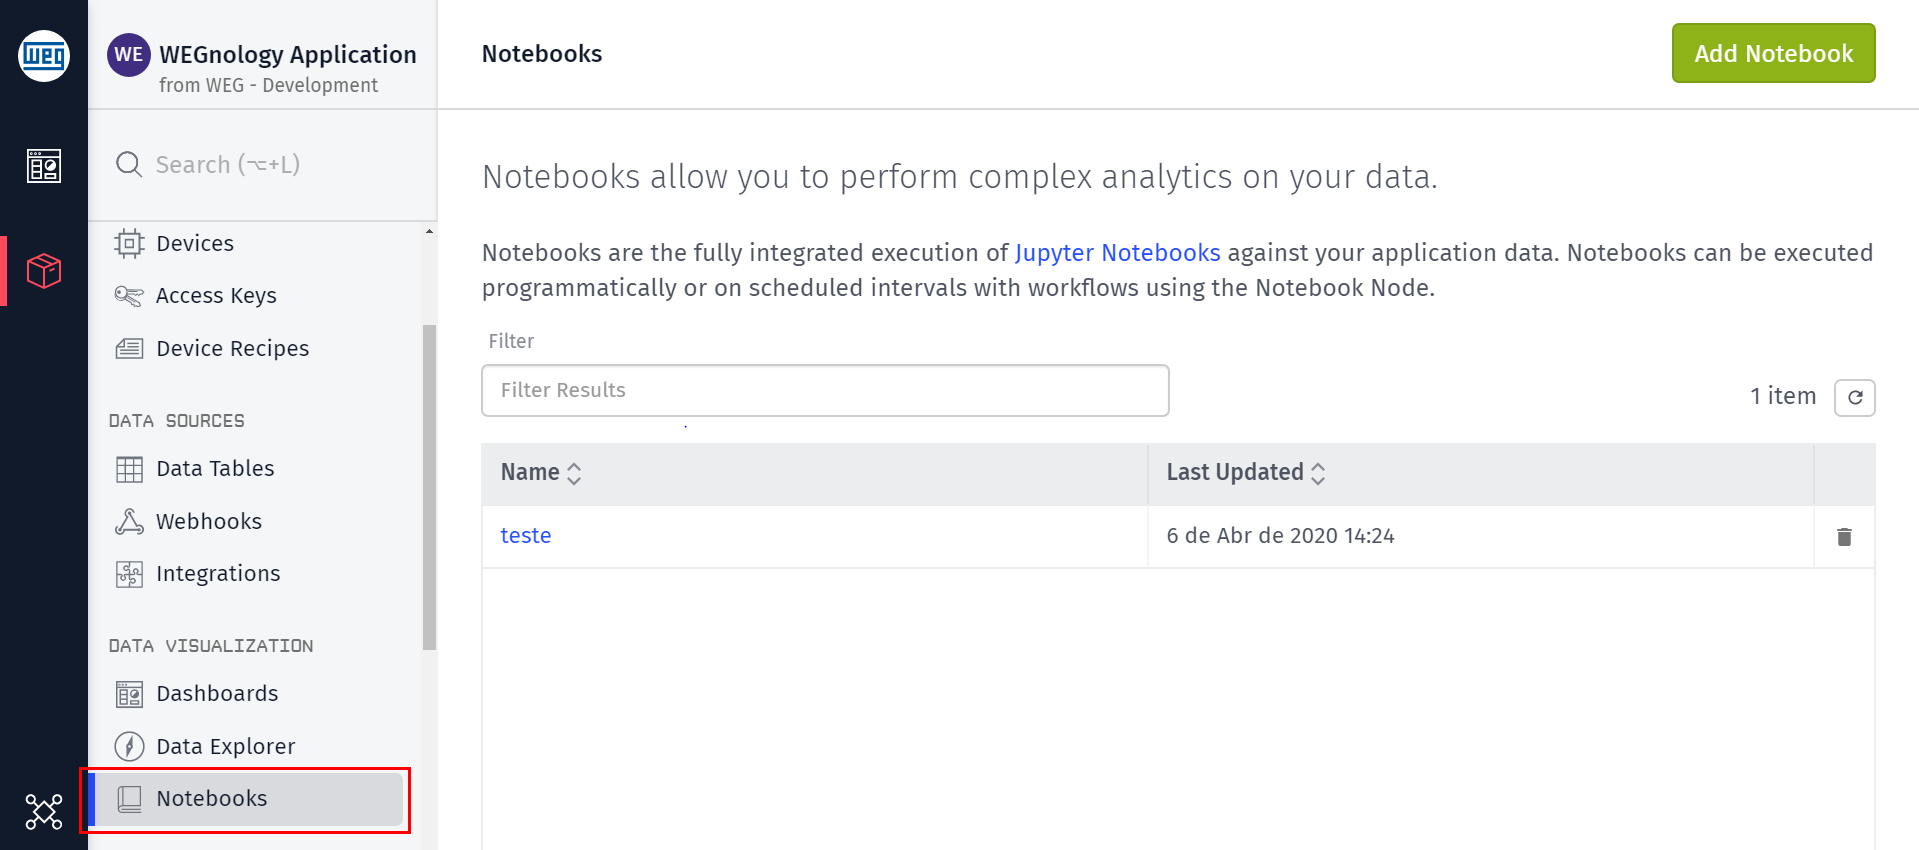
Notebooks are found under the "Notebooks" link within the "Data Visualization" section of your application's navigation.
Creating a Notebook
To create a notebook, click the "Add Notebook" button in the top right corner of your application's list of notebooks.
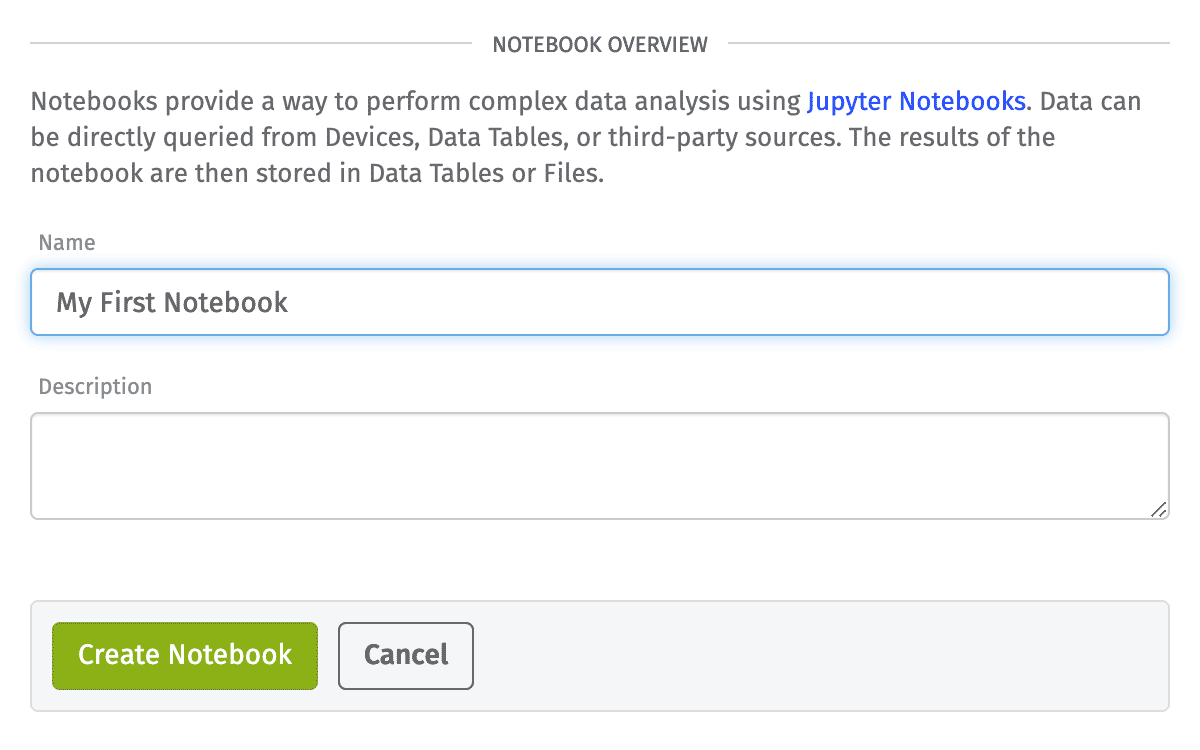
Give your notebook a name, an image version, and optionally a description and then create the notebook. You will then be redirected to an interface where the notebook can be developed for use within your application.
Inputs
The first step is to configure your notebook's inputs, each of which will generate a dataset when the notebook runs.
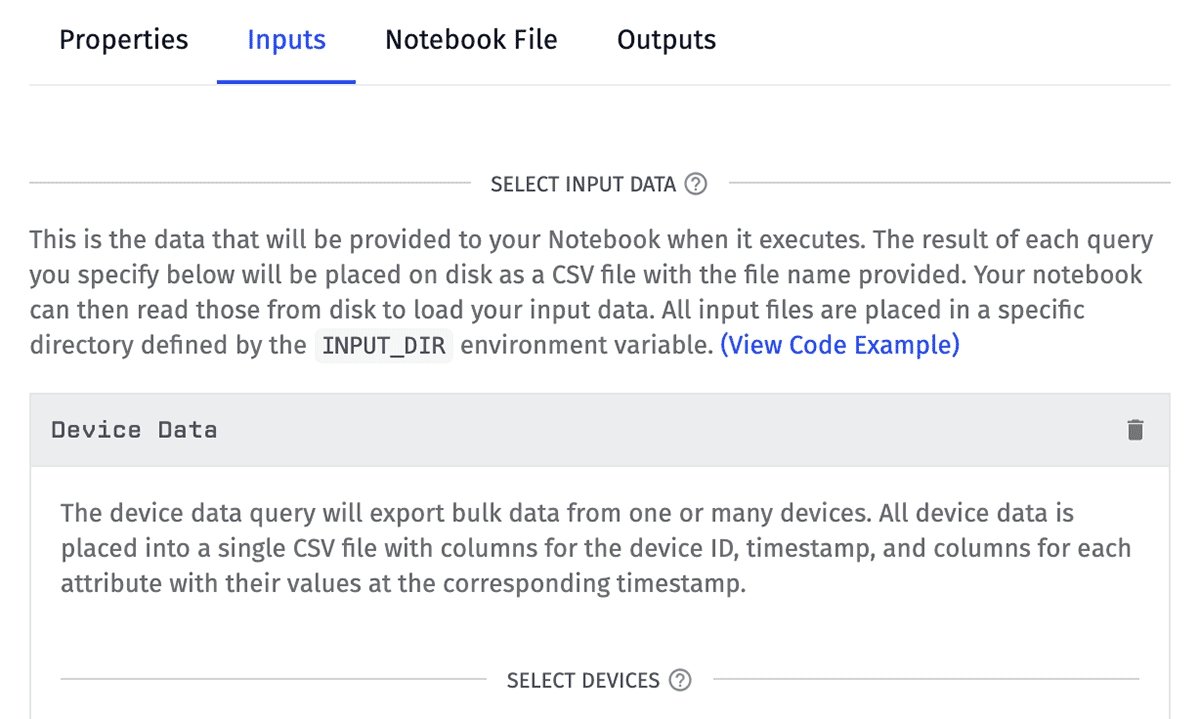
These datasets — which are populated by your application's devices and data tables — serve as the starting point for the batch analytics, visualizations and statistical modeling within your Jupyter Notebook.
Data Export
Once you have configured your inputs, the next step is to export a set of sample data from those inputs.
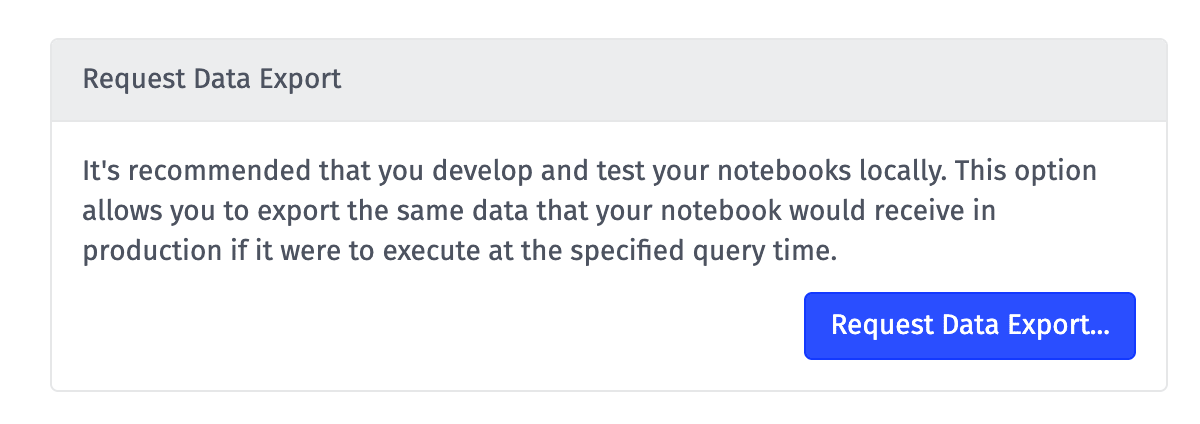
Links to these files will be emailed to an address of your choosing; then, you can download the sample data for use when building your notebook.
Develop Locally
Next, given your sample data, you can write your notebook's code in your local environment.
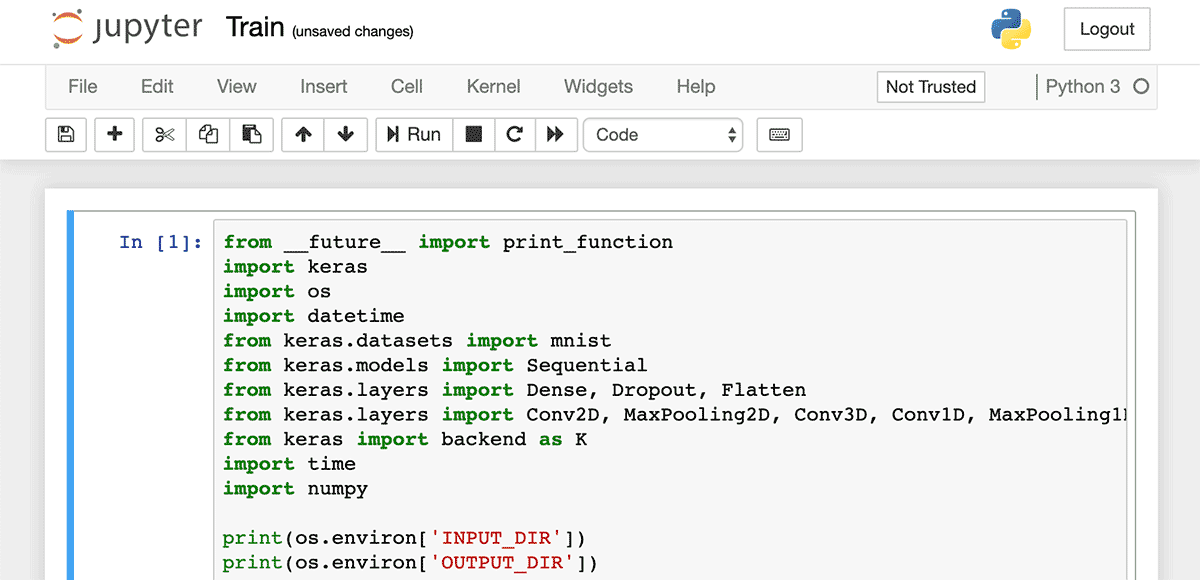
Once you are happy with the results, you can replace the references to the sample data with references to the input files as they'll be written to disk during a notebook execution.
Notebook File
Take your completed .ipynb file and upload it to your application's notebook.
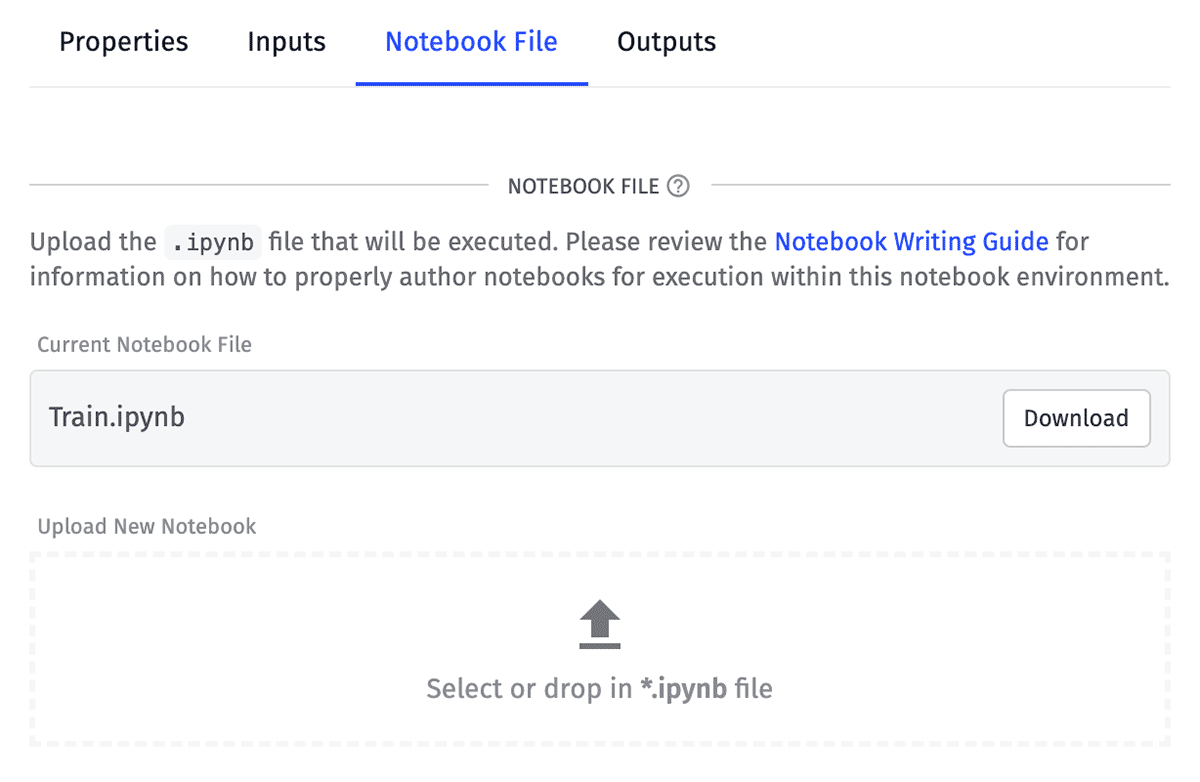
This is the file that will run in the cloud environment against your input data. From this tab you can always download your current file, make changes and upload a new version.
Output
Finally, decide what to do with the output of your notebook execution. All notebook runs generate a handful of output files automatically, and depending on the content of your notebook file, they may generate many more in a variety of file formats.
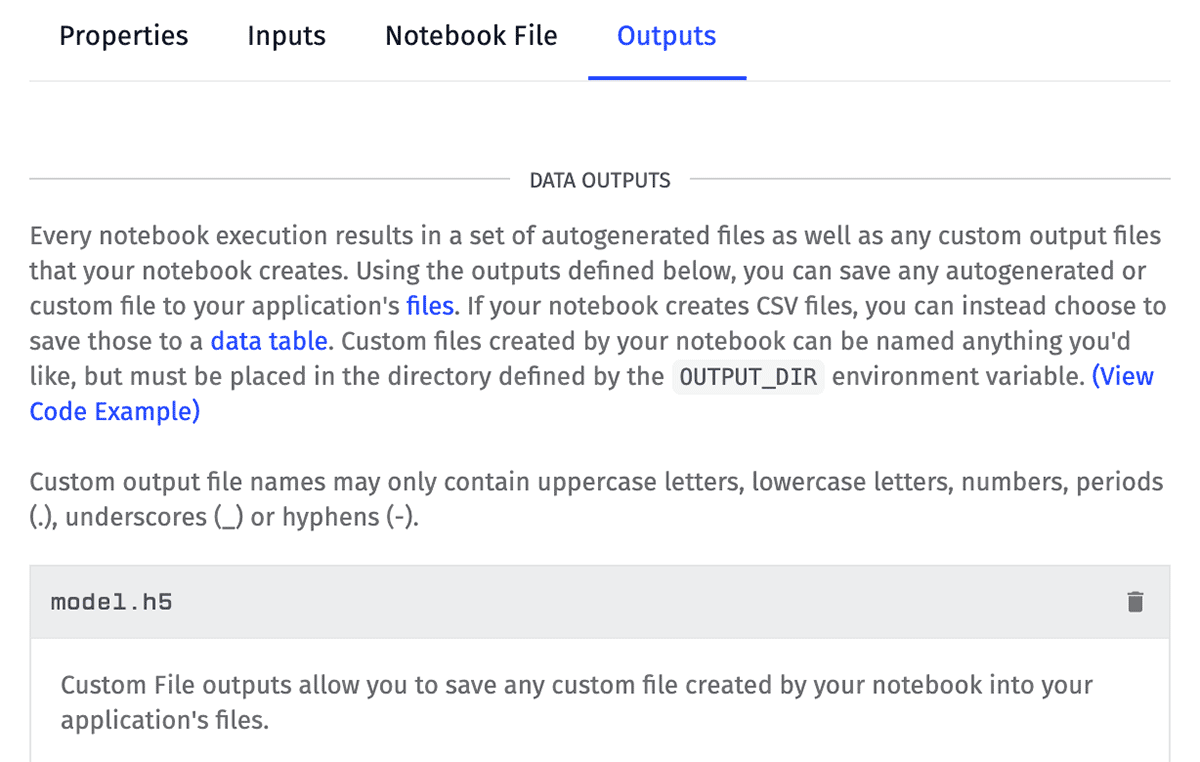
Decide what to do with these files (if anything) by directing them to your application's file storage or into a data table.
Execution
Once your inputs are configured, you've developed your notebook and uploaded the file and configured what to do with the code execution's outputs, it's time to actually run the notebook against your live application data.
Notebook executions are limited to a number of minutes per billing period. Requests to execute a notebook when you are over this limit will fail. Notebook minute usage can be checked on the Resource Limits screen.
There are two ways to run a notebook:
Notebook: Execute Node
To automate the running of notebooks against your application data, you can use the Notebook: Execute Node to start a notebook execution via a workflow. In most cases, this node will be connected to a Timer Trigger configured with a cron string to run the notebook on a regular schedule (e.g. "every Monday at 9:00am").
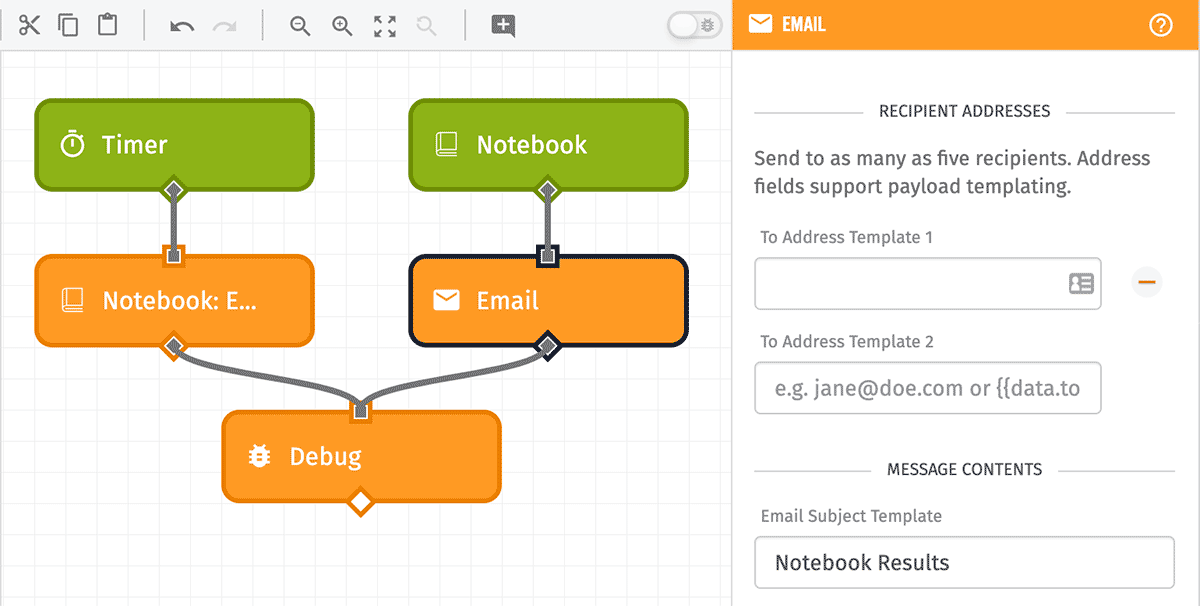
The workflow will not await the execution of the notebook before proceeding to the next node(s) connected to the Notebook: Execute Node. Instead, the node will queue the notebook for execution and will fire any Notebook Triggers configured to run when executions of the chosen notebook have completed or errored. Most users will use the Email Node in conjunction with this trigger to send the execution's outputs to an address of their choosing.
Execute Button
In the top right corner of your notebook's detail page, there is a button to execute the notebook immediately. Click the button to display a modal where you must choose a query time before kicking off the execution.
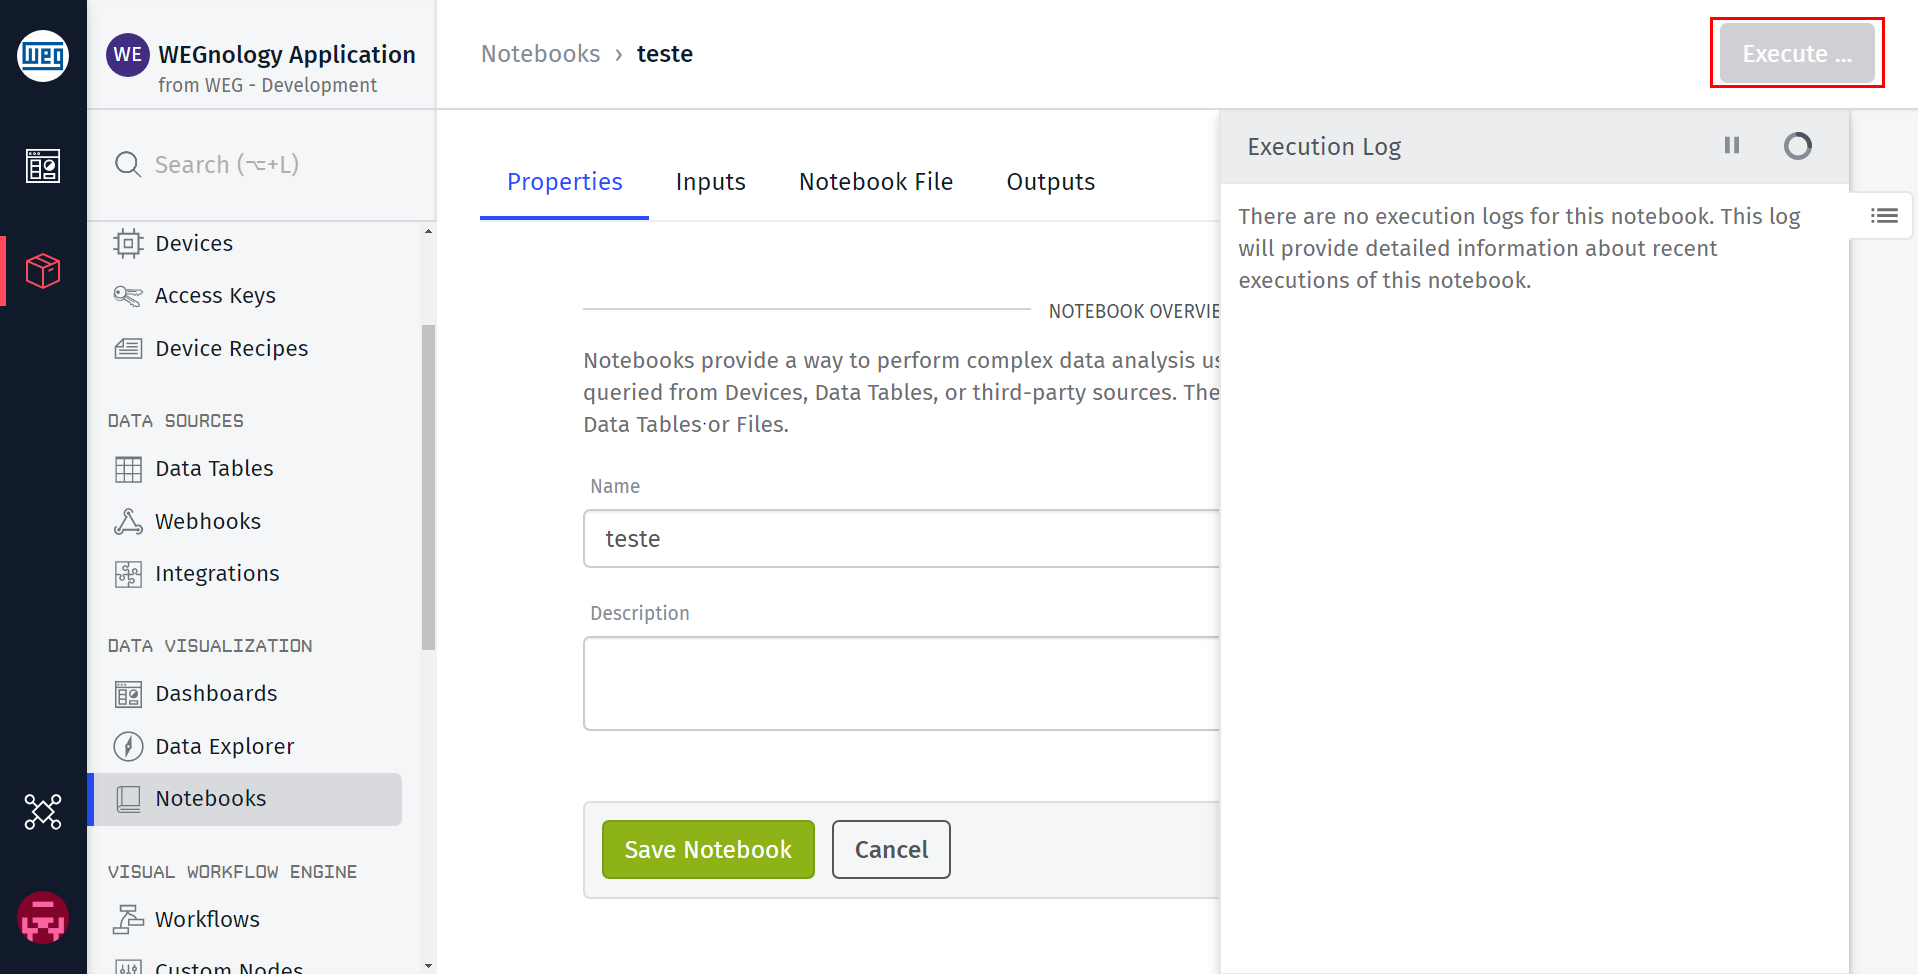
Just like with the Notebook: Execute Node, this will queue the execution and you can track its progress in the notebook's execution log.
Associated Workflows
From a notebook's "Workflows" tab, you will see a list of all workflows and custom nodes with at least one Notebook Trigger or Notebook: Execute Node targeting this notebook.
The following are not included in a notebook's "Workflows" list ...
- Notebook: Execute Nodes that use a string template to reference the notebook by ID, as opposed to selecting the notebook directly.
- WEGnology API Nodes invoking any API action for this notebook, including a notebook execution.
From this table, you may also generate a starter workflow for this notebook, which includes the ability to execute the notebook and a trigger outputting debug info when the notebook completes.
Deleting a Notebook
To delete a notebook, click the "Delete Notebook" link at the bottom of the notebook's "Properties" tab.
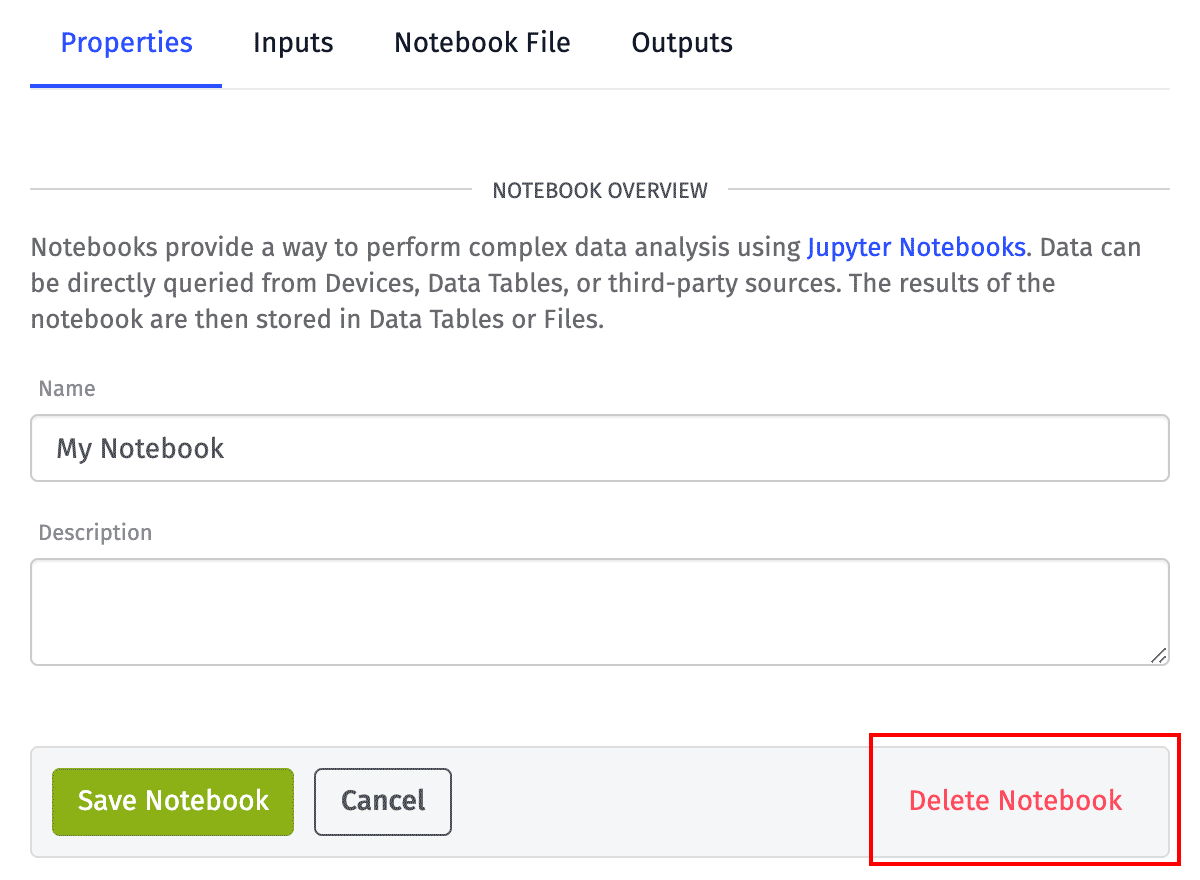
Deleting a notebook will cause any executions of the notebook (via workflows) to fail. The execution logs — along with links to any output files within those execution logs — will no longer be accessible.
However, deleting a notebook will not delete any files that were generated by that notebook and saved to your application files, nor will it affect any data tables or rows generated by the notebook's previous executions.
Was this page helpful?
Still looking for help? You can also search the WEGnology Forums or submit your question there.